WeChat: (+86)13978873330 Email: 381784025@qq.com

WeChat: (+86)13978873330 Email: 381784025@qq.com

Whether the back of a niche rack touches the wall looks like a construction detail. Flush against the wall saves 5 cm, and across a row of twenty niches that is a metre — any owner would take it. But that 5 cm buys back panels that go damp, mould patches, insects, and no way to service anything later. These are the few centimetres a columbarium should never economise on.
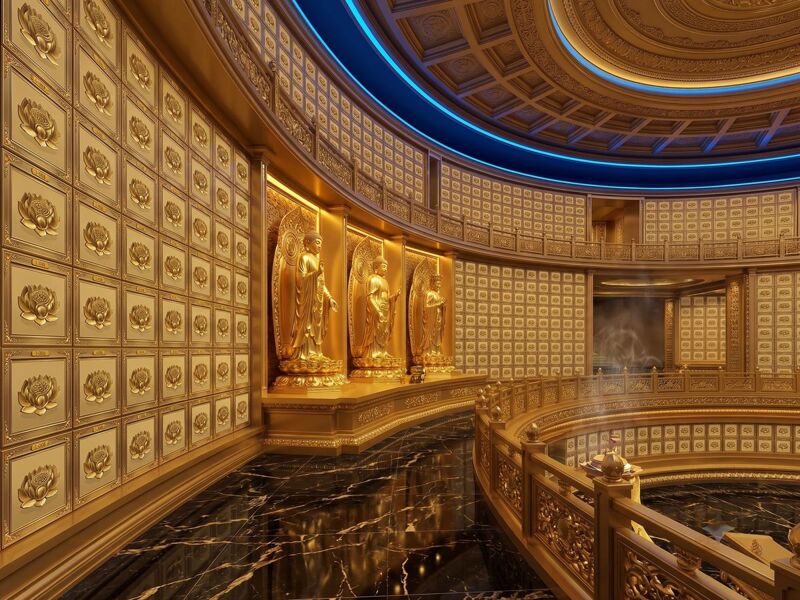
The wall is the coldest part of the building. With the hall at 24°C and 60% relative humidity, the inner face of the wall may be only 18–20°C, and that difference is enough to bring adjacent air to its dew point.
Moisture condenses on the wall, and a back panel pressed against it absorbs all of it. The result: mould grows on the inside of the back panel, starting at the corners of the cavity and the paper items go first — tablets brocade boxes, burial quilts.
This is not theory. In the maintenance records of older halls "back panel gone black" always ranks in the top three niche faults.
The gap serves three purposes, each with its own dimension.
Ventilation and drying. A 50 mm vertical cavity behind the rack develops weak convection from the temperature difference carrying away the moisture that condenses on the wall. Below 30 mm the air in the cavity does not move; it is a sealed tin.
Service access. If a back panel has to be replaced, a cable duct added, or an anchor drilled into the wall for seismic tying, a hand has to fit in there With glove thickness plus spanner swing, 40 mm is the absolute limit.
Construction tolerance. Wall plumbness is allowed 4 mm in 2 m and in practice often runs 10–15 mm. With 50 mm, the back panel clears the high spots when the rack is set out.
Take the largest of the three and you get 50 mm. That is the floor for a niche, not a recommendation.
Ground-floor or basement halls: 80–100 mm. Moisture rising from the slab travels up the wall and is heaviest within the first 300 mm, so the cavity must be big enough for real airflow.
Inside an external wall: 80 mm or more. An external wall is a thermal bridge and condenses most in winter.
Wall waterproofed but not insulated: 100 mm, plus drainage holes at the bottom of the cavity. Facing a wall like that, it is better to lose a row. The waterproofing keeps water inside the wall, so it can only move toward the interior.
Where services must run: power and data trunking is typically 30 × 20 mm, and with service allowance the cavity needs at least 60 mm.
At layout stage these tens of millimetres must be counted into the net dimensions Do not discover it when the rack arrives and will not fit.
At 50 mm off the wall, the rack loses its lateral support from the wall, which raises the seismic requirement rather than lowering it.
Both the top and the bottom must be connected to the wall with brackets or rods, at no more than 1,200 mm centres, at least two points per row, and anchored into structural walls — never into lightweight partitions.
The brackets must span the 50 mm cavity, so their length is made to the actual gap. The denser the layout, the less this part can be skimped. Plenty of projects take the easy route and force a standard 50 × 50 bracket, which ends up with only 20 mm of embedment — and comes away in an earthquake.
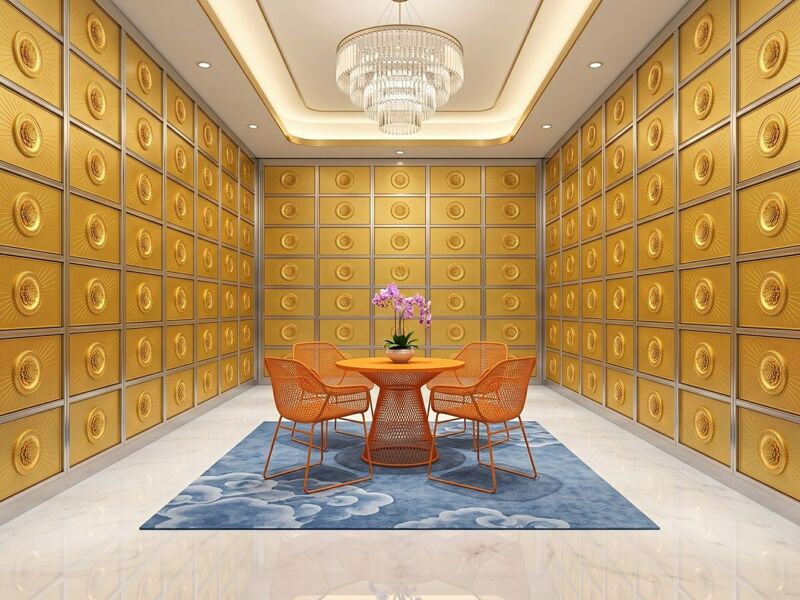
The current approach has three steps:
One, build a free-standing back frame. The rack forms its own frame, does not rely on the wall for support, and transfers load to the floor through its own uprights. Done properly, the back panel carries no structural role.
Two, leave the cavity. Keep 50–100 mm between back frame and wall, with a 20 mm upstand at the bottom to stop floor water running in.
Three, add a decorative back panel. Close the outside of the cavity with perforated or louvred panel — dust screen plus breathability. This layer is demountable for service.
Some halls, for appearance, bond the back panel flat to the wall and seal the cavity into an invisible void. From outside such a columbarium looks identical; only dismantling reveals it. Niches built that way always have problems at the back within five years and when they do there is no way to fix them — the row has to come out.
No dismantling needed; look at three things:
1. Is there a shadow line above the skirting? A shadow line means the rack stands off the wall; flush contact means it was built against it. 2. Feel the bottom edge of the back panel. Damp shows as cold, tacky, with white crystalline deposit. 3. Look at the inside of the doors in the row nearest the wall. If only the wall-side niches mould and the middle ones do not, it is a wall-contact problem, not a whole-hall humidity problem.
The third is the most conclusive. When mould in a columbarium lines up along a wall, the answer is those 50 mm.
Q: Leaving 50 mm costs a metre across twenty niches — is it worth it?
A: A metre of width holds about three more niches, which is real money at niche prices But the cost of reworking a whole row because of damp is usually several times those three niches, and during the work they cannot be used.
Q: The wall has anti-mould paint — is the gap still needed?
A: Yes. Anti-mould paint suppresses spores, not vapour. The vapour is still there; it just does not grow mould for a while, and the back panel still gets damp.
Q: Space is genuinely tight and only 20 mm is possible — is there a remedy?
A: Yes, but it has to be deliberate: drainage holes at the bottom of the cavity, a moisture-resistant back panel, and a small dehumidifier module for that row. With all three it will hold, but accept a shorter life.

A 50 mm standoff from the wall is the line between a niche that stays dry for twenty years and one that does not. Those five centimetres do not buy space; they buy ventilation service access and construction tolerance. A columbarium has to be costed over twenty years, and the 5 cm saved always comes back as repair cost.